Is your polka dot plant outgrowing its space? Find out the best practices for repotting polka dot plant and nurture your beloved houseplant.
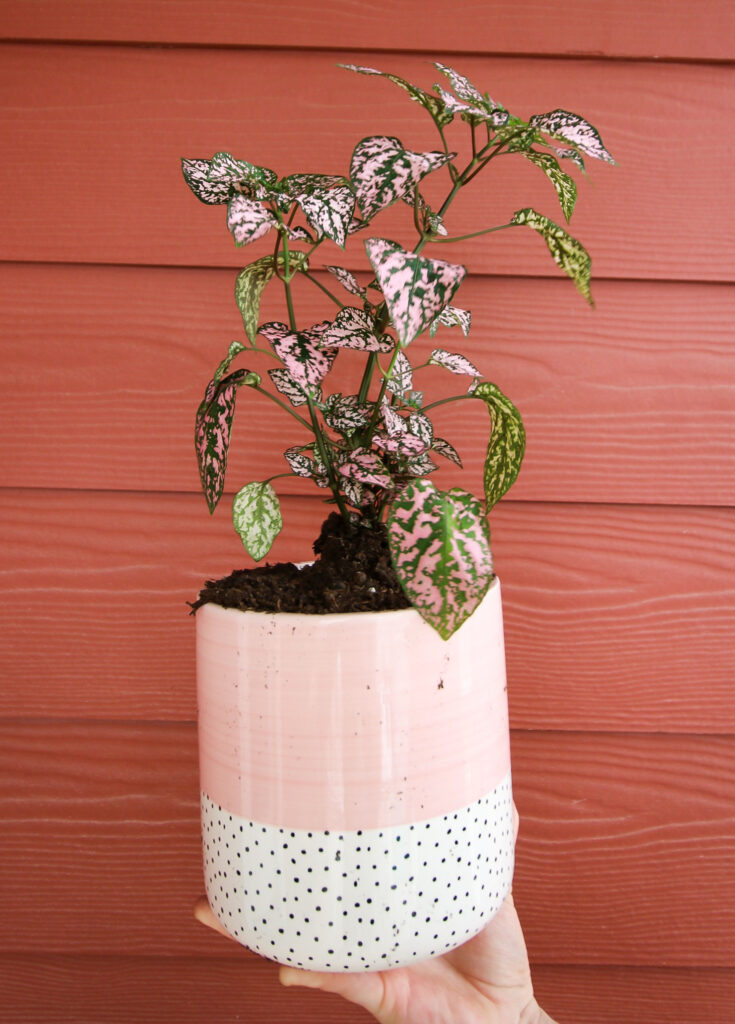
As you may know, the polka dot plant is a remarkable species that thrives in warm environments and remains modestly sized indoors.
Polka dot plant care is easy, and in return, it spruces up every room you put it in. Simply put, it is a wonderful plant to have in every household.
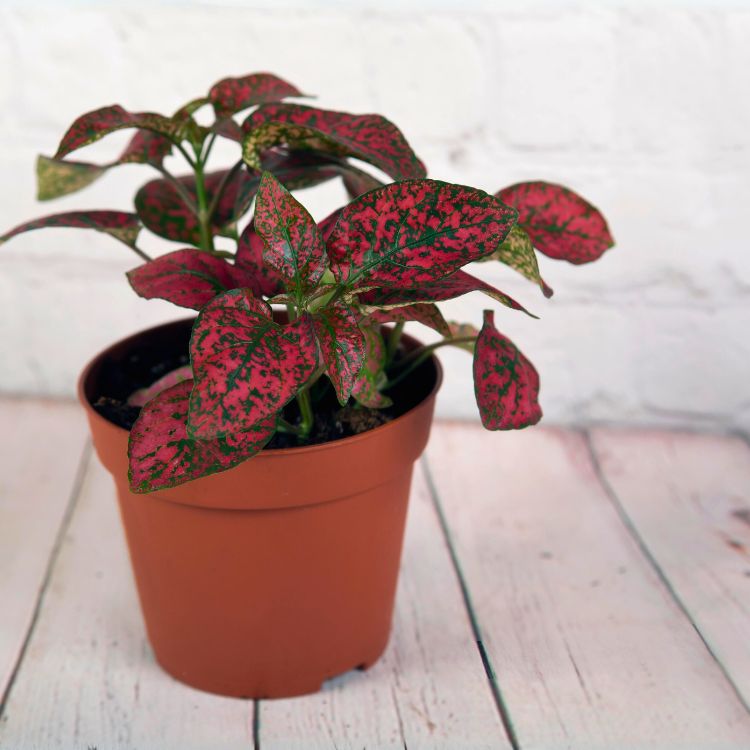
However, as with all other plants, the polka dot grows. More leaves show up, the stems become stronger and thicker, and the roots are all over the place.
So today, we will talk about how to repot a polka dot plant – with instructions, tools, and everything you need to know!

Time for Repotting Polka Dot Plant
In gardening, timing is key, especially when repotting polka dot plant.
The best time to do this is once you notice that the roots have filled up their container.
Keep in mind that this might happen very fast, depending on the size of the plant.
You may find yourself repotting your polka dot plant at least once a year.
We would not advise you to get the biggest pot with your first replanting as it would not look visually pleasing and would simply not fit the plant.
Also, the best time to transplant your polka dot plant is the beginning of spring.
Once the temperatures go to the warmer side and the days become longer, you will notice that your plant will quickly react to the change.
It will soon start to produce new foliage and new roots.
Supplies & Tools Needed For Repotting Polka Dot Plant
Before you start repotting your polka dot plant, here are the tools you need to do it:
- A clean, shiny new pot.
- Soil mix – your soil mix is something you should check into a little deeper. It should be a mix of pine bark, perlite, and peat.
- Garden gloves – You need to be protected from any scratches or cuts during the process.
How To Repot Polka Dot Plant
Once you have all the supplies near you, it is time to go into the step-by-step instructions on how to repot your polka dot plant.
Choose the Right Time
As previously suggested, you need to know when to repot your polka dot plant, as it is in its growing season during the warmer months.
If you do the repotting in spring, it will give your plant some time to recover (and do it fast) from the shock of placing it in a different container and enough time for it to adapt to its new environment.
Select the Right Pot
Before you start repotting the polka dot plant, you need to check the new pot.
It should be about 1-2 inches (2.5 – 5 cm) wider and deeper than the one your plant is in right now.
The second thing you are going to check for is drainage holes.
They are an important part of your plant's health, as they will allow the water to flow freely through the soil, leaving only moistened soil behind.
Prepare Your Workspace
Place the newspapers – before getting your hands dirty, place the newspapers in the area you want to work.
Wear Gloves
Get your gloves – as we mentioned, they are a necessary precaution, so put them on.
Remove the Plant
For proper transplanting of your polka dot plant, grab and gently extract it from its pot.
- Tap it on the sides and the bottom to gently release the soil and the roots.
- Hold the base of the stem and then pull it out, but don’t use too much force.
- If the plant is resisting, use the trowel or the spoon.
Inspect the Roots
Before removing the soil and untangling the roots a little bit, inspect them.
See if there is some damage.
If there is, take your pruning shears, sanitize them, and then prune all the affected areas (however, if your plant is healthy, this will not happen).
Prepare the New Pot
The next step in repotting your polka dot plant is to get some of the new soil and put some at the bottom of the new pot.
- Place the plant in the center and cover it with new soil from the sides.
- Make sure the top of the root ball sits just below the rim.
- Add as much soil as needed until you reach the previous level.
- Then, gently press the soil down with your hands to give your plant a little bit more stability.
Water Thoroughly
Give it a good watering – the polka dot needs to be watered thoroughly.
This step ensures the plant is properly hydrated and set after its relocation.
Choose a Suitable Location
Find a nice warm spot for it – if you have kept it in a less-than-optimal spot until now, it is time to find the perfect spot for your plant.
Avoid direct sunlight, but put it in a bright spot in the home.
Also, avoid any drafts and try to meet its humidity requirements.
Monitor the Plant
During the last step of transplanting your polka dot plant, keep a close eye on it.
At first, it should look a little bit pale, but after a few days or weeks, it should all be right back to normal.
Check the soil frequently and water it when needed.
It is time to celebrate your success!
With our tips, repotting a polka dot plant has never been easier, and you have the space so it can thrive and continue charming you with each passing day.
Now, it is time for you to congratulate yourself on your success and keep on making the plant happy.
Before you go…
If you liked this post, there are a lot more on the topic of polka dot plants waiting for you!
Thanks for reading!


Hey there, I'm Morgan, a houseplant enthusiast from sunny Charleston, South Carolina. Growing up surrounded by my mom's lush orchids and African violets, I discovered the magic of bringing nature indoors. Thanks to the pandemic, I delved deeper into houseplants, discovering their power to uplift moods and transform spaces. I'm here to spill all my secrets, helping you pick the perfect houseplant - and make it happy. Let's keep your plants alive, together! 😊