Wondering how to prune a Christmas cactus? Regular pruning is an important part of Christmas cactus care - let's dive in with a step by step guide so you do it the right way!
Christmas Cacti - and their sister plants the Thanksgiving cactus and the Easter cactus - are super popular houseplants, especially in the winter season.
But, these are not one-season plants. They can last for decades! My mom has an Easter cactus that she has had since the 90s - she's even divided it into 2 pots and it is still huge and beautiful.
An important part of having a Christmas cactus last for many years and still look great is pruning. Pruning helps to encourage healthy growth, abundant blooms, and maintains an attractive shape.
Today I want to share the best techniques for pruning a Christmas cactus and step by step guides and troubleshooting tips for you as you do it!
Understanding Your Christmas Cactus
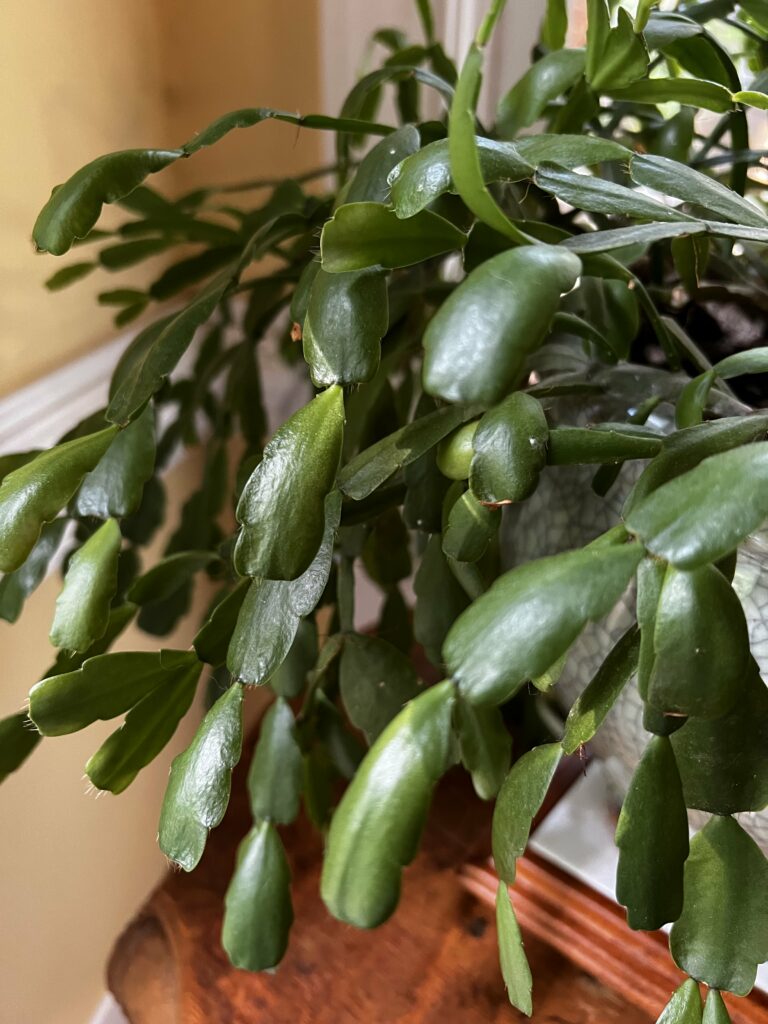
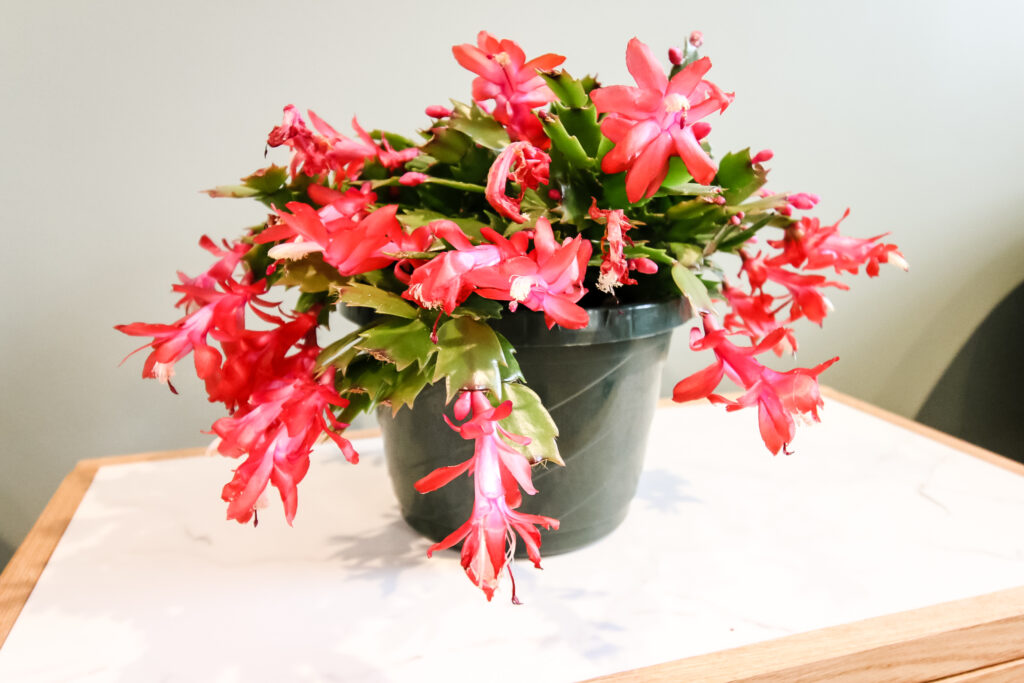
The Christmas cactus (Schlumbergera) is a unique and captivating plant that features segmented stems, each consisting of flattened, fleshy leaves. The stem segments are joined, like a chain. These segments are not only visually interesting but also function as water and nutrient storage structures for the plant.
In addition to its segmented stems, the Christmas cactus is beloved for its vibrant, colorful blooms. The flowers, which appear at the tips of the stem segments, come in various shades of pink, red, white, or even yellow, adding a burst of color to indoor spaces during the holiday season.
The fact that they bloom in the winter, when not much else blooms, makes them even more popular!
Natural Growth Pattern and Pruning
Understanding the Christmas cactus's natural growth pattern is crucial for effective pruning. In its unpruned state, the plant tends to grow tall and leggy, with stems reaching in various directions. Over time, this growth pattern can result in an unbalanced and unruly appearance.
Pruning plays a vital role in maintaining the Christmas cactus's shape. By removing specific segments strategically, you can encourage the plant to branch out, creating a fuller and more compact silhouette.
Pruning also promotes the growth of new segments, leading to a bushier and healthier plant overall.
Additionally, removing dead or diseased segments helps redirect the plant's energy toward new, vibrant growth, ensuring the Christmas cactus remains robust and visually appealing.
Best Time to Prune a Christmas Cactus
The optimal time to prune a Christmas cactus is after it has finished blooming, typically in late winter or early spring. At this stage, the plant enters a period of active growth, making it more responsive to pruning. Pruning after blooming allows the plant to recover and produce new growth, ensuring it has ample time to develop before the next blooming season.
The UCCE Master Gardeners recommend pruning your Christmas cactus in late March or early April.
During this period, the plant is preparing for its next blooming cycle. Pruning stimulates the growth of new segments and encourages the formation of flower buds on these fresh growths. This approach not only maintains the plant's shape and size but also ensures a bountiful display of blooms in the following holiday season.
How to prune a Christmas Cactus
Pruning your Christmas cactus is easy to do with the right tools!
Tools needed
- clean, sharp scissors or pruning shears
- gloves
- rubbing alcohol for sterilizing tools
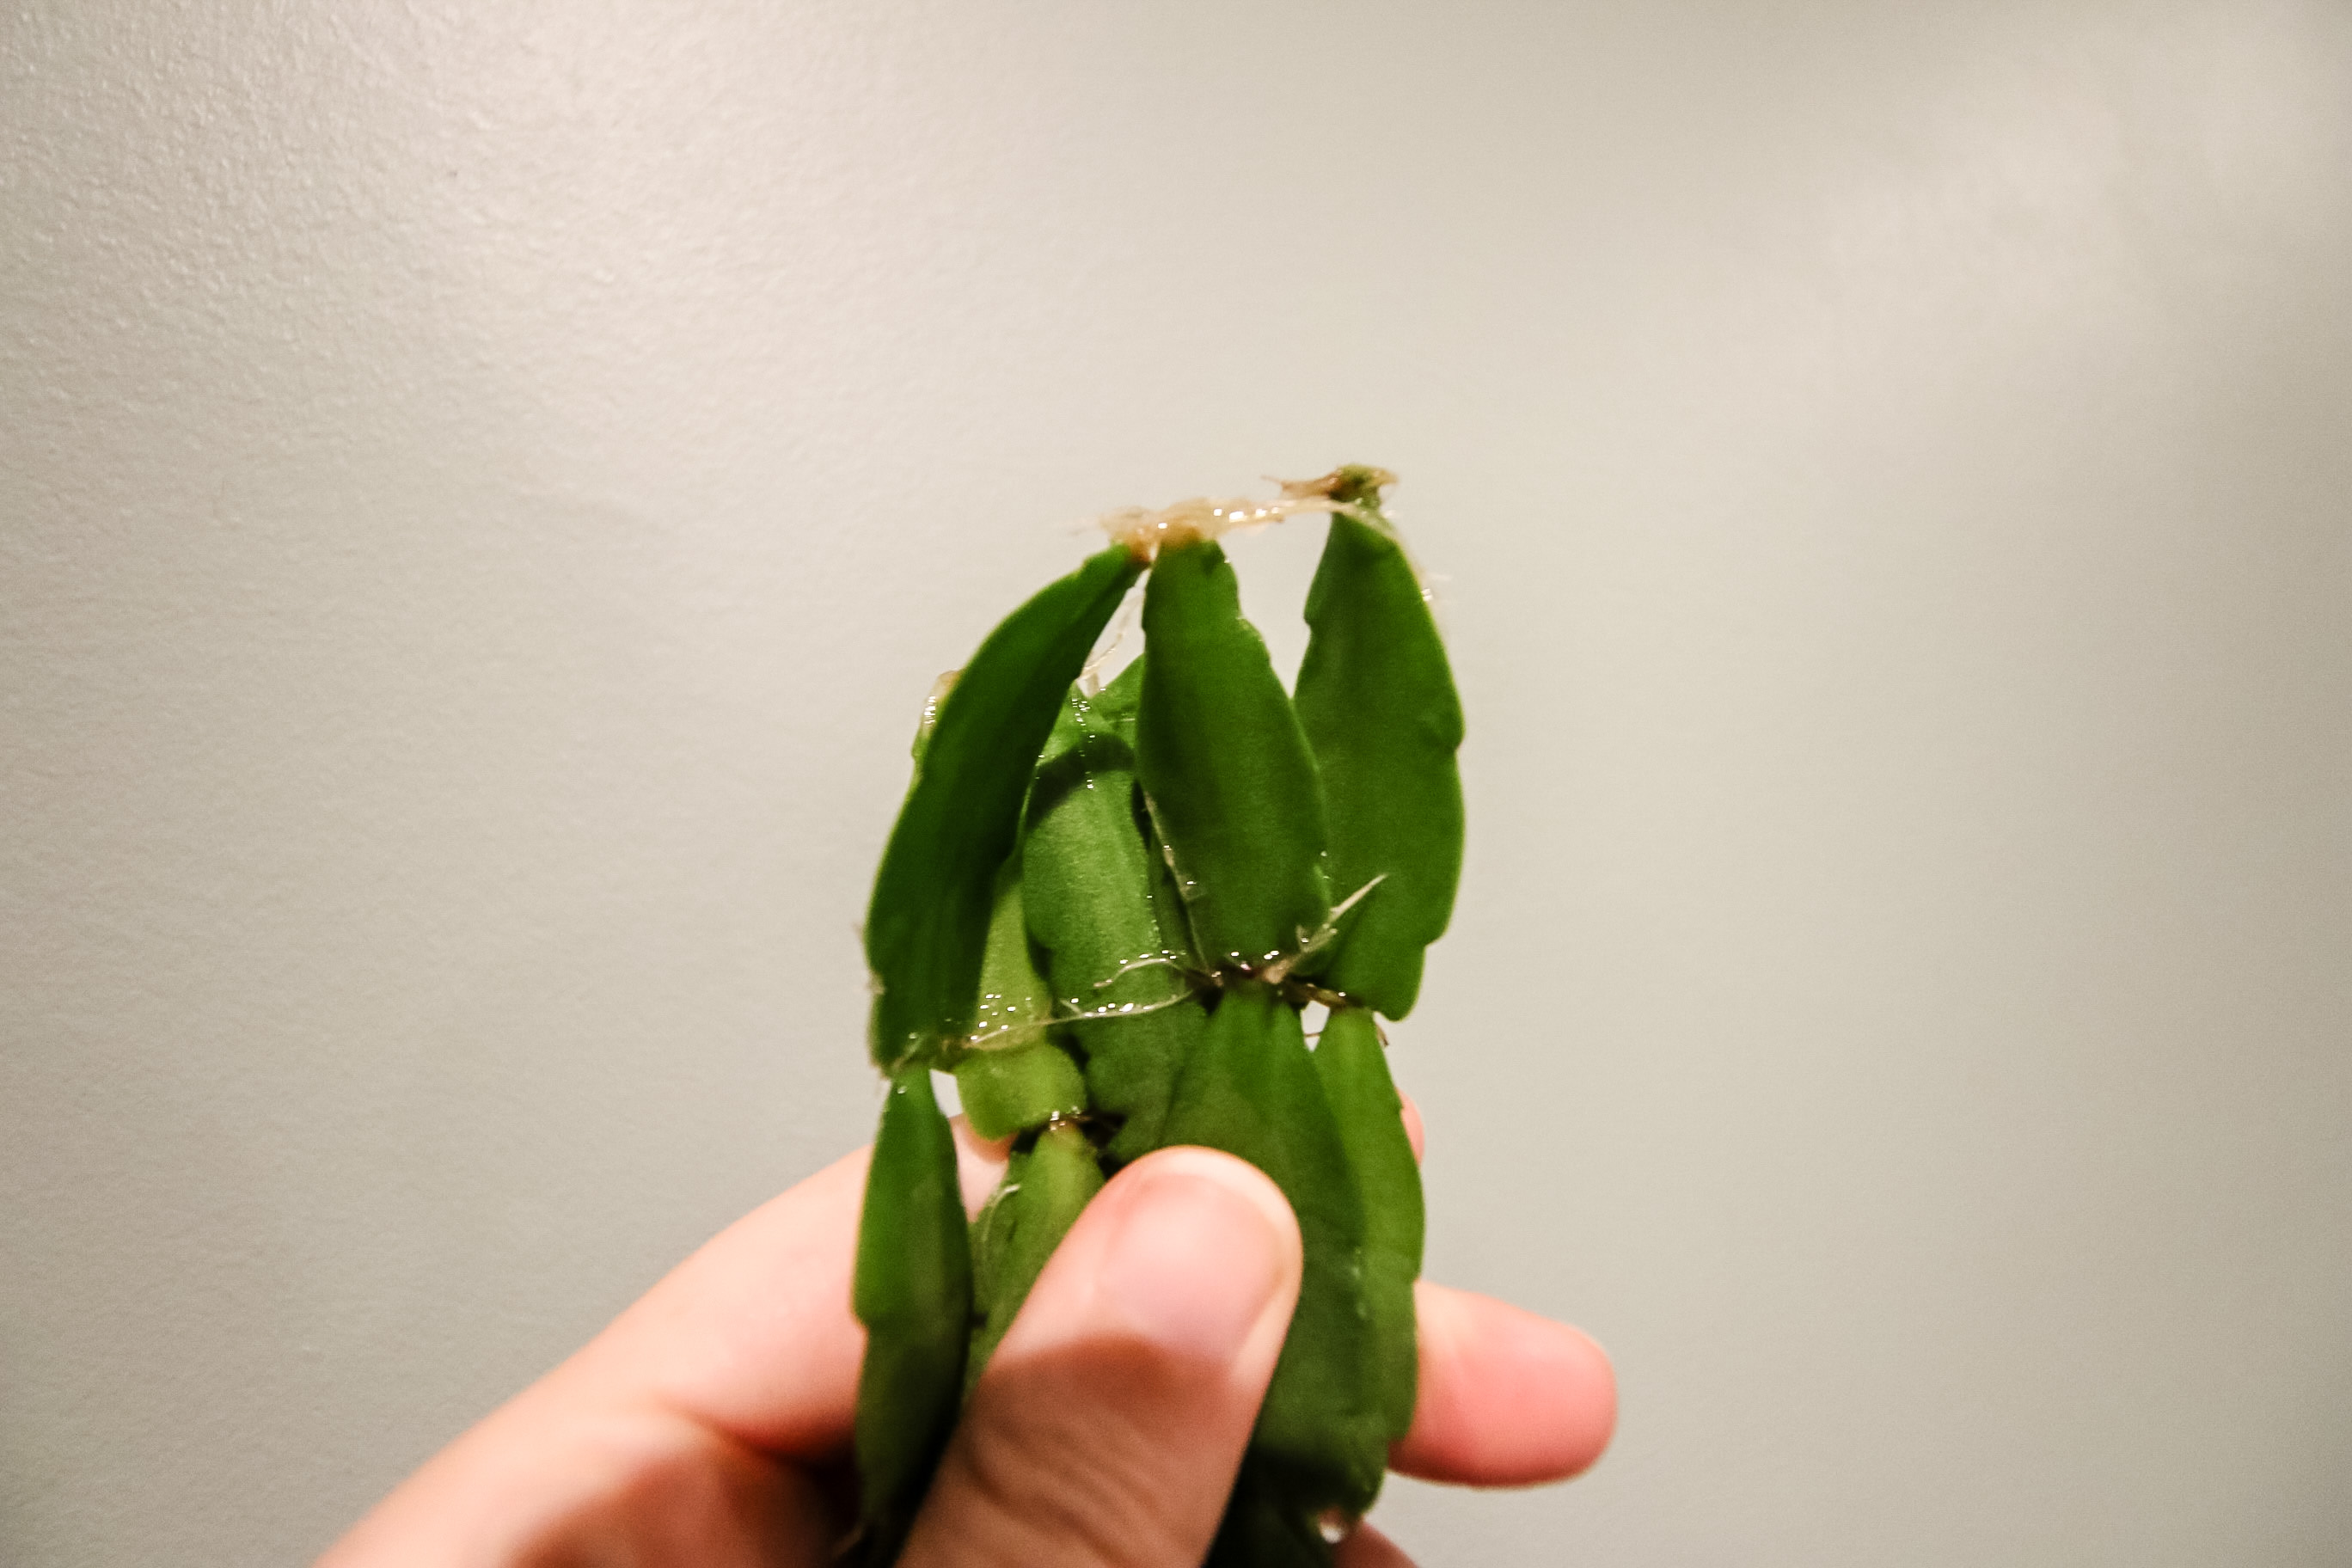
- jar of soil or water (if you want to propagate your Christmas cactus cuttings, which you should!
Remember, sharp clean tools are essential to prune correctly and without damaging the plant!
Pruning Techniques for holiday cacti
You have a few options for pruning your holiday cactus, depending on how much you want to cut back and your overall goals!
Pinching Back
Pinching back is a common pruning technique used to promote bushier growth in Christmas cacti. By pinching or removing the tips of stem segments, you encourage the plant to branch out, resulting in a fuller and denser appearance.
Here's how to pinch back your holiday cacti:
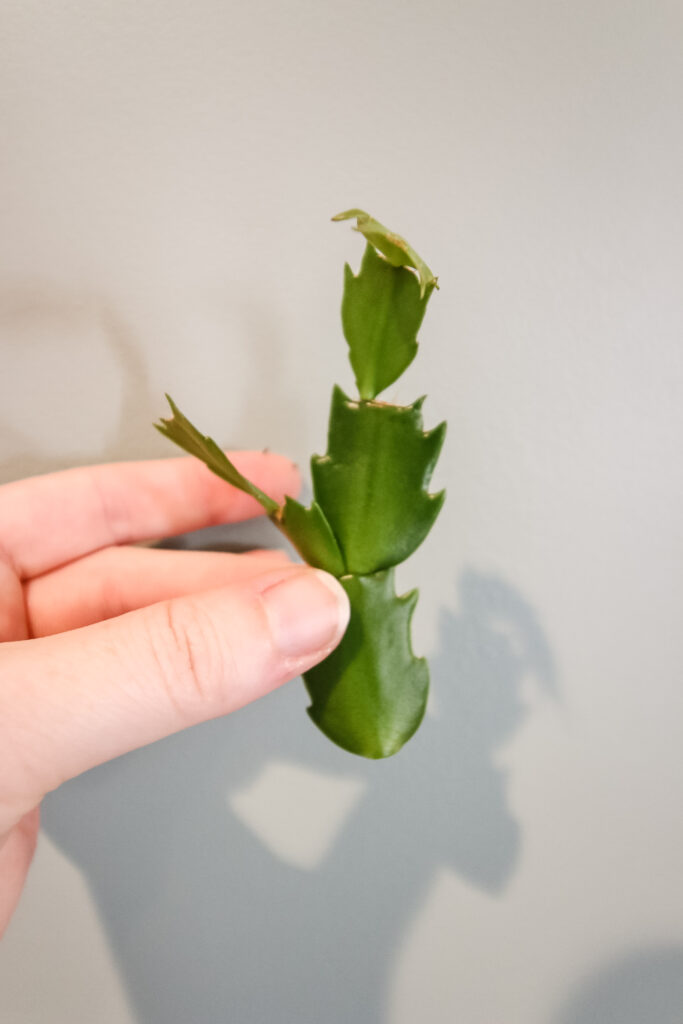
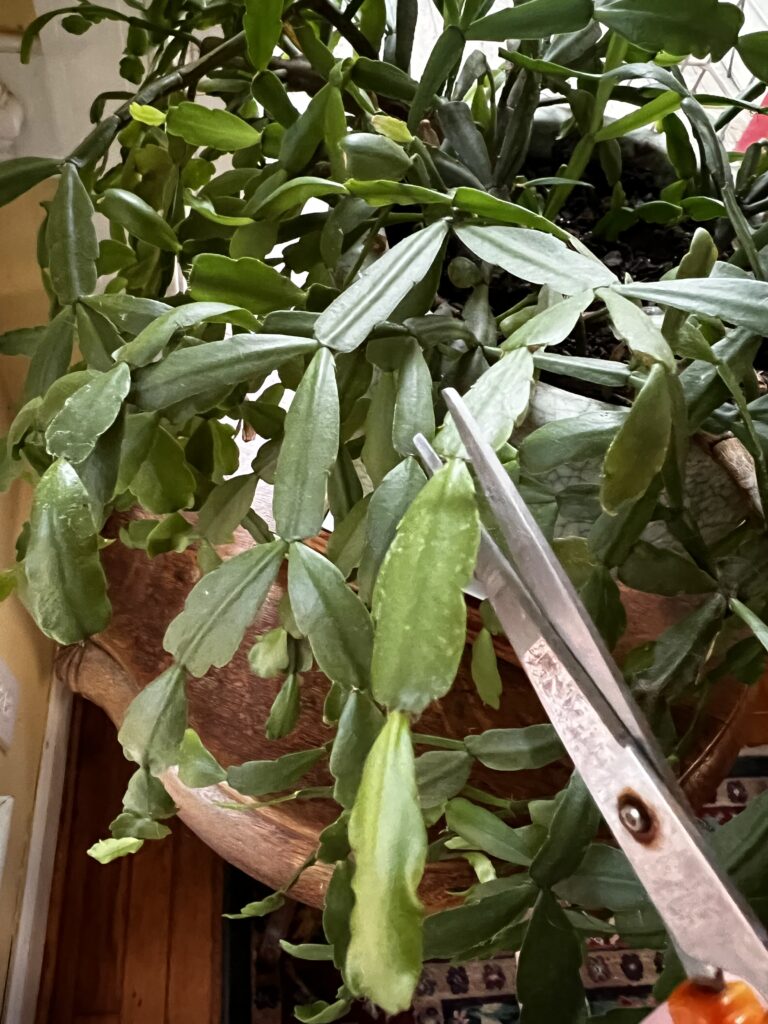
- Step 1: Identify the tip of a stem segment that you want to pinch back. Choose stems that have grown longer than the rest, contributing to the plant's uneven shape.
- Step 2: Using clean, sharp scissors or pruning shears, carefully pinch or snip off the tip of the stem just above a segment joint. This action signals the plant to redirect its growth hormones to the lateral buds, encouraging side shoots to develop.
- Step 3: Continue this process for all the long stems, focusing on achieving a more balanced and compact shape. Avoid removing too many segments at once; instead, spread the pruning sessions over a few weeks to allow the plant to adjust gradually.
Removal of Dead or Diseased Segments
Dead or diseased segments not only compromise the plant's appearance but also pose a risk of spreading infections. Regular inspection and removal of these segments are essential for having a beautiful and healthy plant.
Here's how to do it:
- Step 1: Carefully examine the Christmas cactus, looking for segments that appear wilted, discolored, or mushy. These are signs of dead or diseased segments.
- Step 2: With sterilized scissors or pruning shears, cut the affected segments at their base, ensuring you remove them entirely.
- Step 3: Dispose of the removed segments to prevent the spread of diseases. Clean your tools with rubbing alcohol before and after each cut to avoid contamination.
Thinning Out Overcrowded Areas
Overcrowded areas in the Christmas cactus can hinder air circulation and create a breeding ground for pests and diseases. Thinning out these areas is vital for the plant's overall health.
Here's how to do it:
- Step 1: Identify densely packed areas where stems are closely positioned, impeding air circulation.
- Step 2: Using sterilized scissors or pruning shears, selectively remove segments within these crowded areas. Aim to create space between segments to allow adequate airflow.
- Step 3: Be strategic in your approach; avoid removing too many segments from one spot, as this might create bald patches. Instead, thin out segments evenly throughout the plant, maintaining a balanced appearance.
Controlling Leggy Growth
Leggy growth occurs when the Christmas cactus gets random super long and droopy branches, losing its compact form. Pruning leggy stems helps rejuvenate the plant and maintain its balanced appearance.
Here's how to do it:
- Step 1: Identify long, thin stems that contribute to the plant's leggy appearance.
- Step 2: Using clean, sharp scissors or pruning shears, prune these stems back to a joint where healthy leaves are present. This encourages new growth and branching from that point.
- Step 3: Repeat this process for all the leggy stems, focusing on achieving a more compact and balanced silhouette. Regular pruning prevents the plant from becoming excessively leggy in the future.
Aftercare and Maintenance
After pruning your Christmas cactus, providing appropriate aftercare is essential to support its recovery and encourage healthy new growth.
Here are some tips for proper aftercare:
Watering
Water the plant moderately after pruning, allowing the soil to dry slightly between waterings. Overwatering can lead to root rot, so be mindful of the moisture levels.
Use a well-draining potting mix to prevent waterlogged roots. Ensure that the pot has drainage holes to allow excess water to escape.
Light Conditions
Place the pruned Christmas cactus in bright, indirect light. Avoid direct sunlight, especially during the hottest part of the day, as it can scorch the tender leaves.
Indirect sunlight near a window with sheer curtains or filtered light from nearby plants is ideal for promoting healthy growth.
Temperature Control
Maintain a consistent room temperature between 60°F to 70°F (15°C to 21°C). Avoid sudden temperature fluctuations, drafts, and exposure to cold air, which can stress the plant.
During the winter months, protect the plant from cold drafts and ensure it is away from heating vents to prevent drying out.
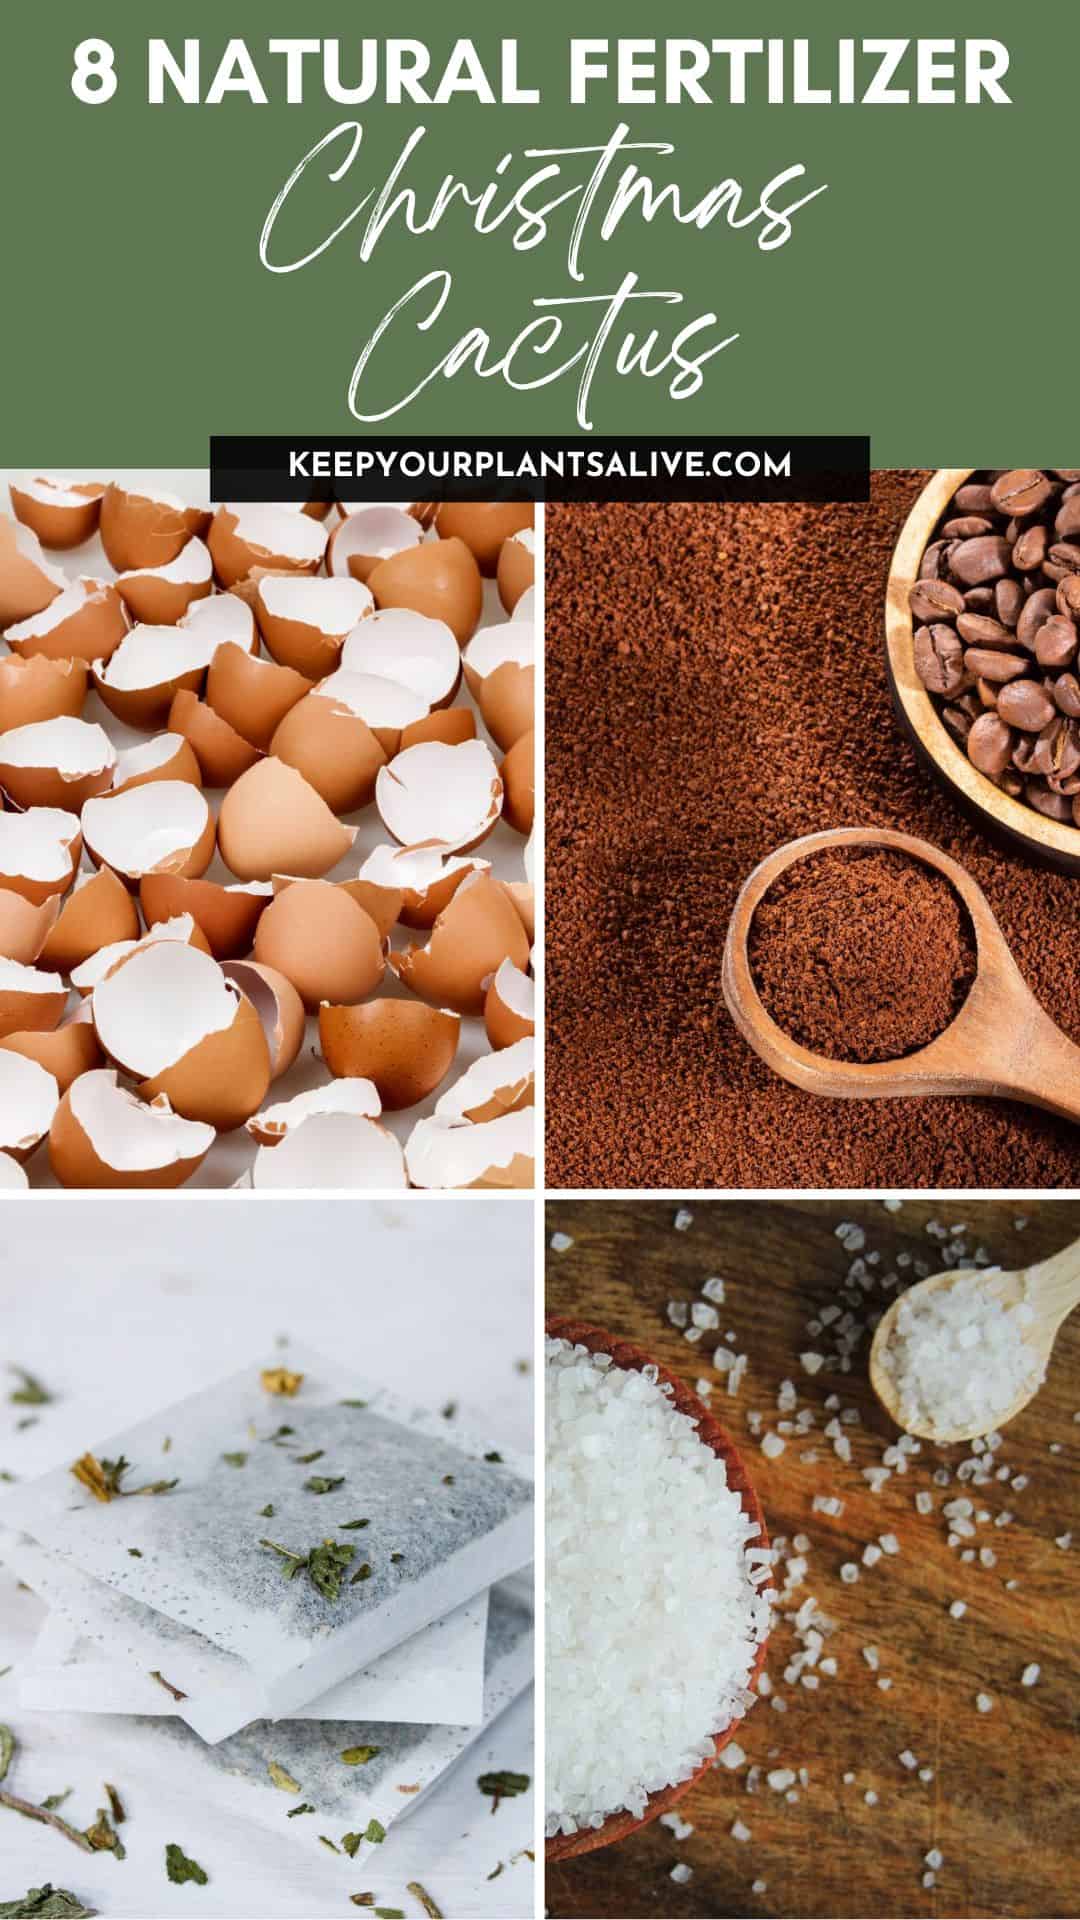
Occasional Fertilization to Support New Growth
After pruning, your Christmas cactus may benefit from occasional fertilization to support the development of new growth.
Use a balanced, water-soluble fertilizer with a formulation such as 20-20-20. Follow the manufacturer's instructions for dilution and application.
Here's how to fertilize your pruned Christmas cactus:
- Wait for Initial Recovery: Allow the plant to recover for at least a month after pruning before applying any fertilizer.
- Choose the Right Fertilizer: Select a balanced, all-purpose liquid fertilizer suitable for flowering houseplants.
- Dilute Properly: Dilute the fertilizer to half or quarter strength, as recommended on the package instructions.
- Fertilization Frequency: Fertilize your Christmas cactus every 4-6 weeks during the growing season (spring and summer) to support new growth and blooming.
Monitoring the Plant's Response to Pruning
After pruning, closely observe your Christmas cactus for signs of recovery and new growth.
Here's how to monitor your plant and make further adjustments if necessary:
- Observe New Growth: Watch for the emergence of new segments, leaves, and buds. Healthy, vibrant green growth indicates the success of your pruning effort.
- Assess Overall Health: Monitor the plant's overall health, including leaf color, texture, and turgidity. Healthy leaves should be firm and glossy.
- Watch for Signs of Stress: Look out for signs of stress, such as wilting, yellowing, or drooping leaves. These symptoms may indicate overwatering, underwatering, or inadequate light conditions.
- Adjust Care as Needed: Based on your observations, adjust your watering routine, light exposure, or fertilization schedule as needed. Be responsive to the plant's needs to ensure its optimal health and recovery.

Common Christmas Cactus Pruning Mistakes and How to Avoid Them
Pruning a Christmas cactus can be highly beneficial, but it's crucial to avoid common mistakes that could harm the plant.
Some of these mistakes include:
- Over-Pruning: Removing too many segments or buds in a single pruning session can stress the plant. Over-pruning can lead to delayed blooming and a sparse appearance.
- Improper Tools: Using dull or unclean tools, making ragged cuts, or pruning at the wrong angles can damage the plant. Incorrect techniques can create wounds that invite diseases or slow down the healing process.
- Pruning at the Wrong Time: Pruning at the wrong season, such as during the blooming period, can remove potential buds, leading to reduced flowering in the next blooming cycle.
- Ignoring Plant Signals: Ignoring signs of stress, such as wilting, yellowing, or drooping after pruning, indicates a problem. Ignoring these signals may result in further damage if not addressed promptly.
Tips on Avoiding Common Pruning Mistakes
Here are my top tips for successful pruning!
- Plan Your Pruning: Have a clear plan before you start pruning. Identify the areas that need attention, such as leggy growth, overcrowded sections, or dead/diseased segments. Avoid excessive removal; focus on shaping and enhancing the plant's natural form.
- Use Sharp, Clean Tools: Use sharp and clean scissors or pruning shears to make precise cuts. Dull tools can crush the plant tissue, leading to slow healing and potential infections. Sterilize your tools with rubbing alcohol before and after pruning to prevent the spread of diseases.
- Prune Strategically: Prune selectively and gradually. Instead of removing large sections at once, prune a few stems or segments at a time. This allows the plant to adjust to the changes more effectively and reduces stress.
- Prune After Blooming: Stick to the recommended pruning time, which is after the blooming period in late winter or early spring. This ensures that you're not removing potential flower buds and gives the plant ample time to recover before the next blooming season.
- Monitor Plant Response: Pay close attention to how the plant responds to pruning. Healthy new growth, vibrant leaves, and overall vitality indicate successful pruning. If you notice signs of stress, adjust your care routine promptly, such as modifying the watering schedule or changing the plant's placement for better light conditions.
- Be Patient: Pruning takes time to show its full effect. Avoid the temptation to over-prune in anticipation of quick results. Give the plant time to adapt, grow, and recover naturally.
By being mindful of these tips and avoiding common pruning mistakes, you can ensure a successful pruning experience, leading to a healthier, more attractive, and blooming Christmas cactus.
Remember, patience and attentiveness are key when it comes to nurturing your pruned plant back to its full glory.
Free printable holiday cactus care guide
Join the (free!) KeepYourPlantsAlive+ community to access this exclusive printable plant care guide! Once you sign up, you can right click & save the JPG care guide. Or keep scrolling for more!

Thanks for reading!


Hey there, I'm Morgan, a houseplant enthusiast from sunny Charleston, South Carolina. Growing up surrounded by my mom's lush orchids and African violets, I discovered the magic of bringing nature indoors. Thanks to the pandemic, I delved deeper into houseplants, discovering their power to uplift moods and transform spaces. I'm here to spill all my secrets, helping you pick the perfect houseplant - and make it happy. Let's keep your plants alive, together! 😊