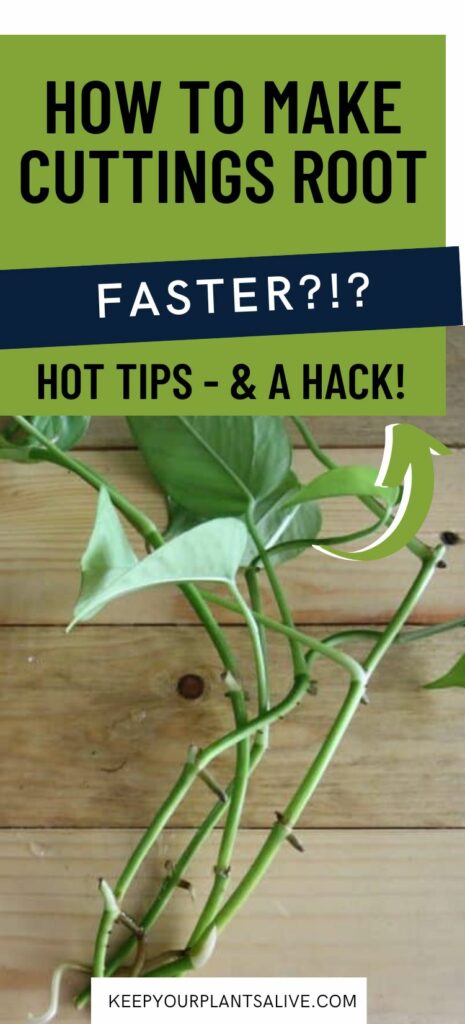
Love propagating your house plants? Here are some great tips to make cuttings root faster in water!
I love propagating my plants - it is so fun to take a cutting and make a new plant to fill out a pot or share with a friend.
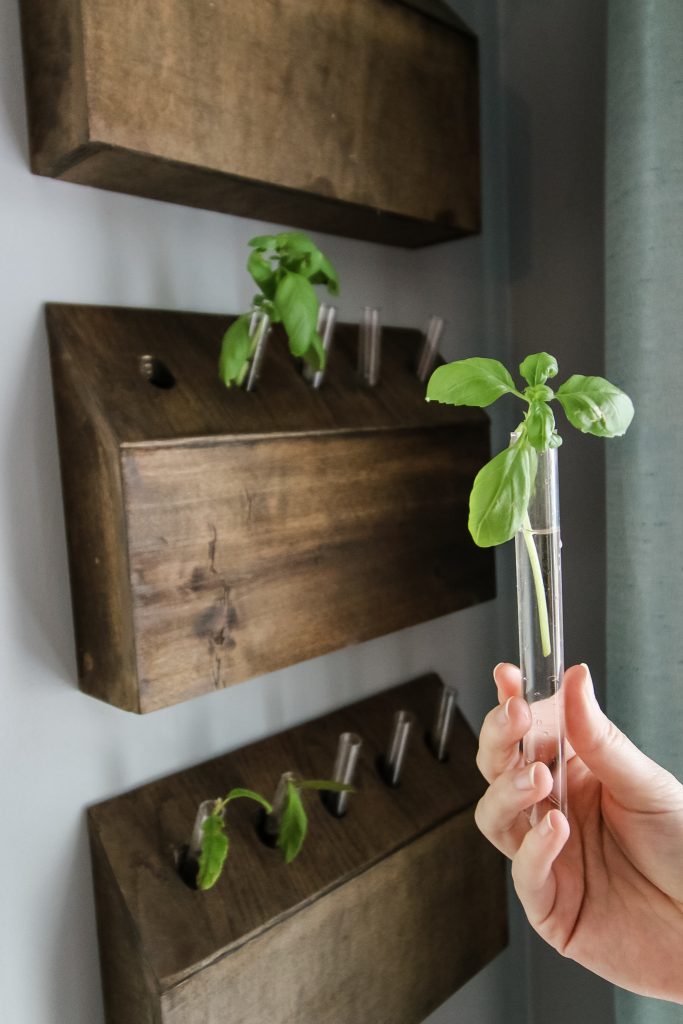
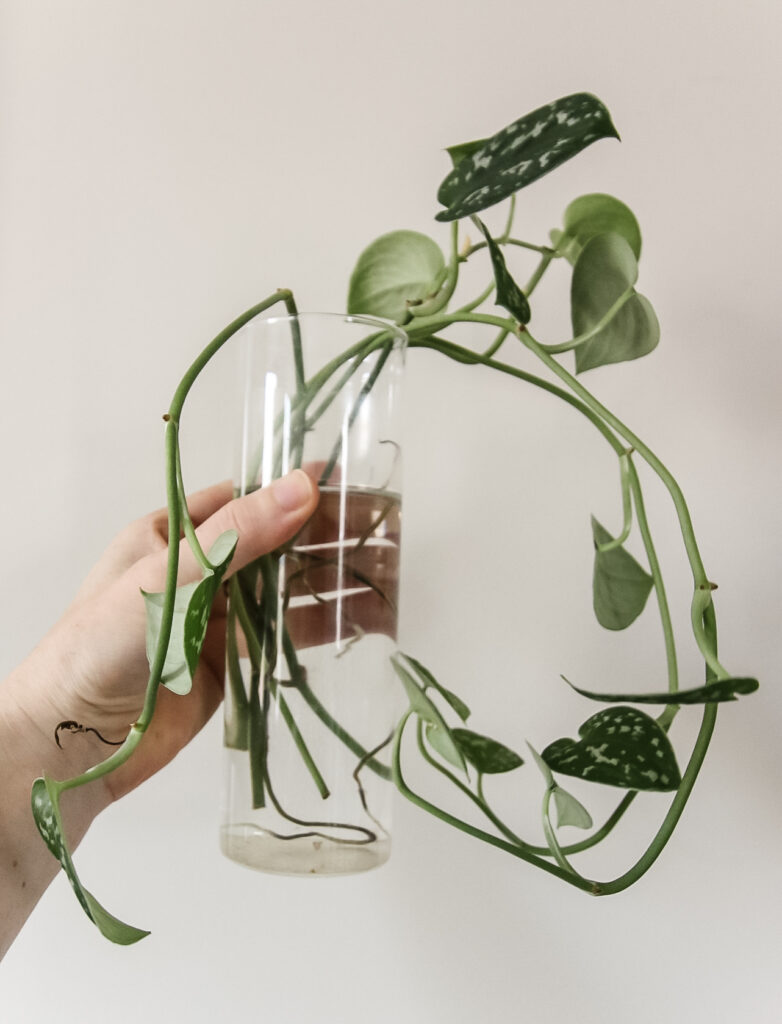
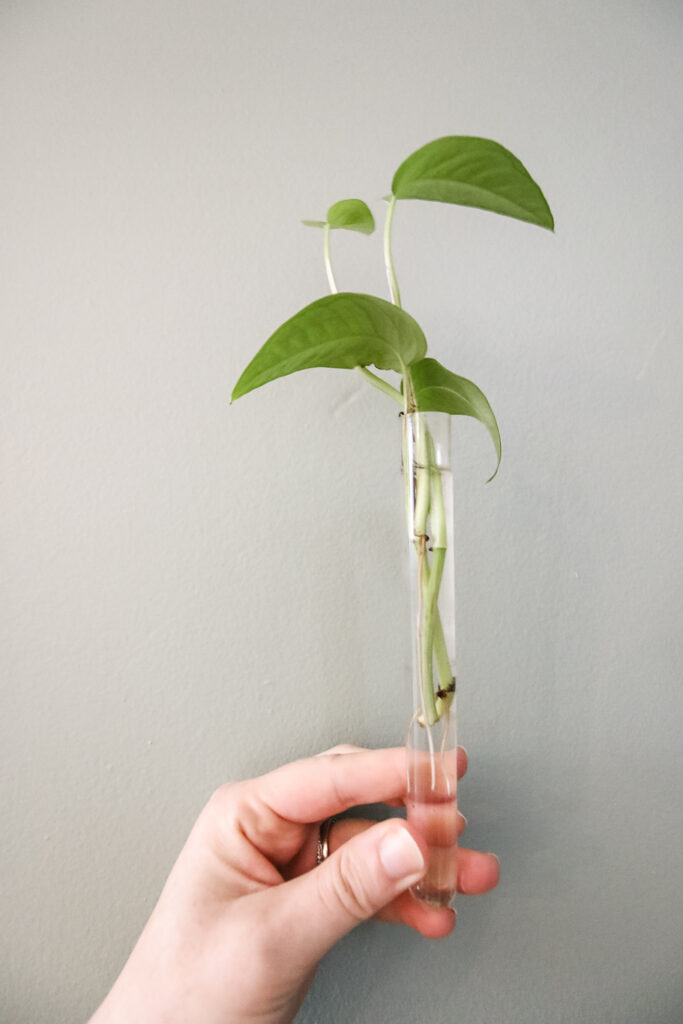
My favorite method of propagation is definitely placing the cuttings in water it is just so easy to do!
Whether you're a new plant parent or an experienced gardener, these simple tips will help you successfully propagate your favorite plants and expand your indoor garden.
Understanding Water Propagation
Water propagation is the process of rooting plant cuttings in water. You cut off a piece of a healthy plant, stick it in water, and hope that it grows roots and becomes it's own full sized plant.
I love water propagation because it is easy, doesn't require any special materials, and makes it easy to visually monitor root growth throughout the process.
Advantages of Water Propagation
- Easy and Beginner-Friendly: Water propagation is a simple and accessible method, making it suitable for beginners or those new to plant propagation.
- High Success Rate: Many plant species can successfully root in water, resulting in a high success rate compared to other propagation methods.
- Visible Root Development: With water propagation, you can easily observe the growth of roots as they emerge from the stem, allowing you to monitor the progress and health of the cutting.
- Cost-Effective: Water propagation requires minimal investment in materials, as all you need is a clean container and water. It's an affordable option for expanding your plant collection.
- Versatile and Flexible: Water propagation can be used for a wide range of plant species, including many houseplants, herbs, and certain woody-stemmed plants. It allows you to propagate multiple cuttings simultaneously in separate containers.
Disadvantages of Water Propagation
- Unsuitable for All Plants: While water propagation works well for many plants, it may not be suitable for all species. Some plants have specific requirements or may not root successfully in water.
- Fragile Root Development: Roots developed in water can be more delicate and susceptible to damage compared to those grown in soil. Transferring the rooted cuttings to soil must be done carefully to avoid root damage.
- Transplant Shock: When transitioning cuttings from water to soil, they may experience a period of shock as they adjust to the change in environment. This can sometimes lead to stress or slower growth initially.
- Dependency on Water: Plants propagated in water may become accustomed to the water environment and face challenges when transitioning to soil. They may require extra care and attention during the transfer process.
- Longer Acclimation Period: Cuttings propagated in water typically require a period of acclimation to soil conditions before they fully adapt. This process may take time and patience before the plant is fully established.
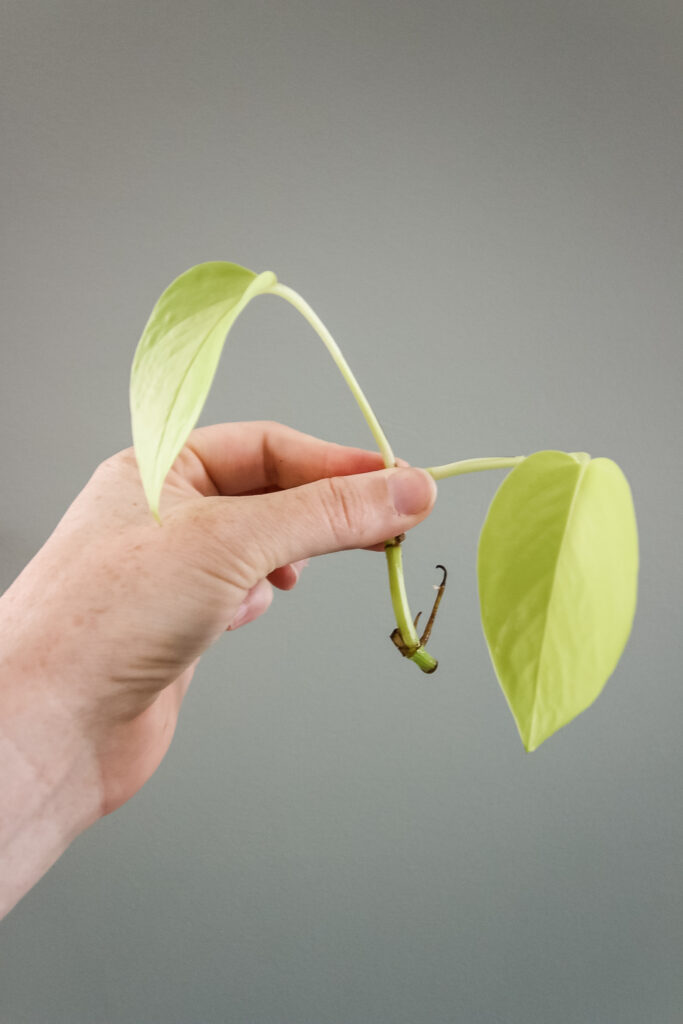
Selecting the Right Cuttings
It is super important to take the right cuttings to ensure propagation success:
- Choose healthy parent plants
- Cut from a branch with active new growth whenever possible
- Leave only 1-2 leaves on the cutting, remove any others
- Ideally take cuttings in spring or summer when they will be growing the quickest
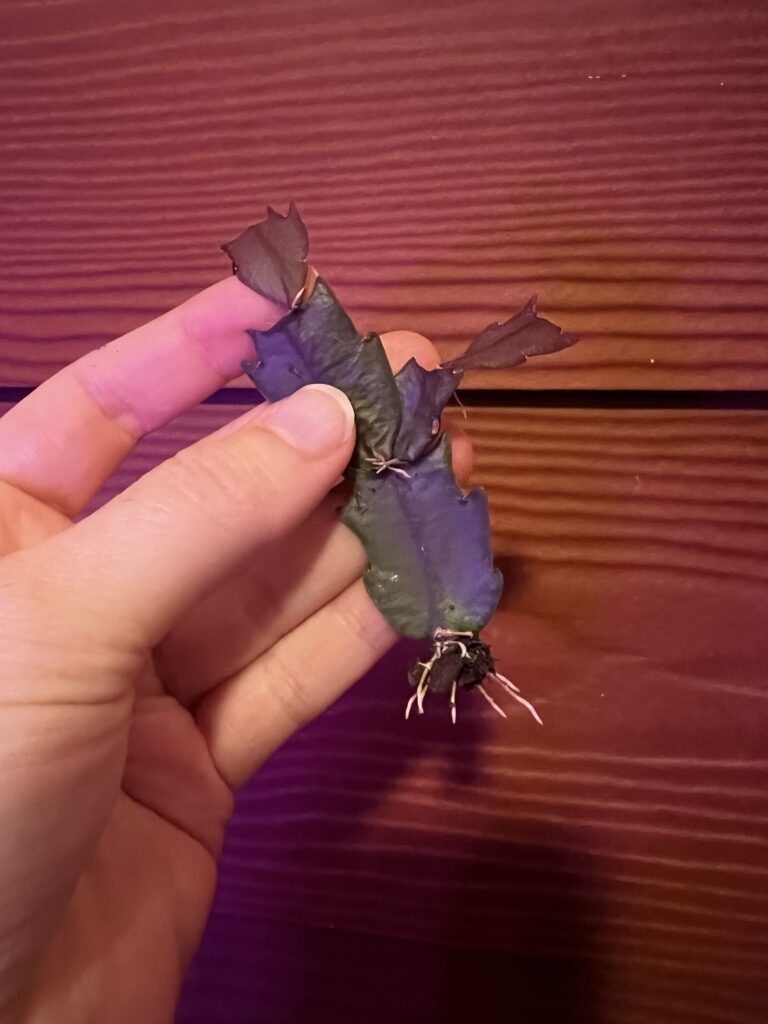
- Make sure that your cutting has a leaf node (bump) that will fall underwater for roots to grow from (for applicable vining plants)
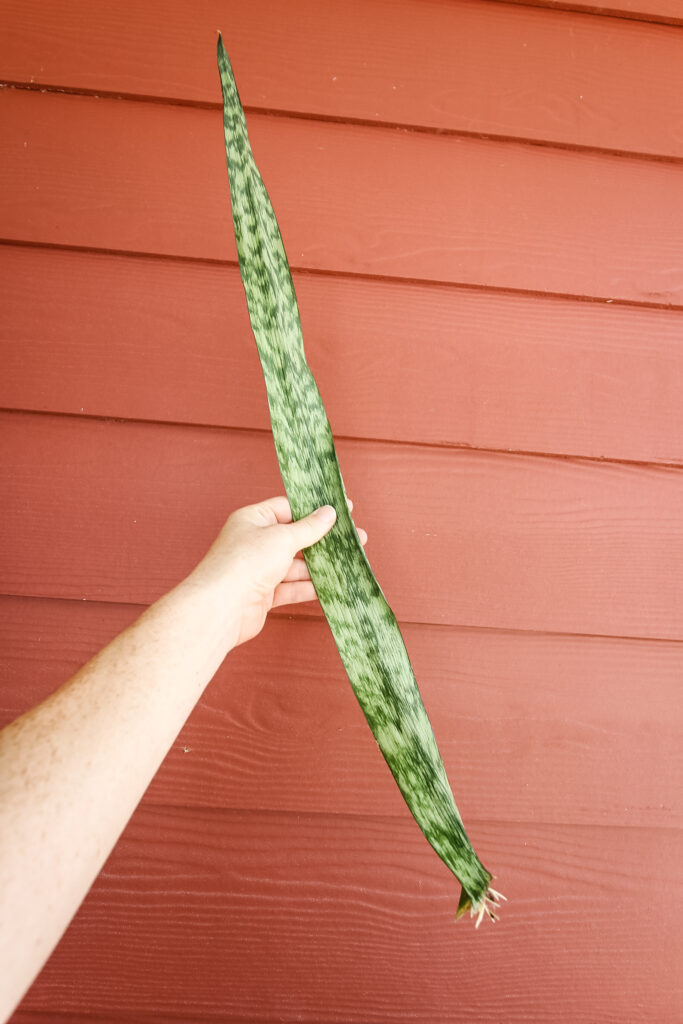
- Check that your plant will root in water before taking the cutting.
Essential Tools and Materials
Here are the simple materials that you need for water propagation:
- Sharp, sterile pruners or scissors.
- Clean containers for water (such as a jar or vase)
- Quality water source (rain water is best, you can also let water sit out for 24 hours to evaporate certain chemicals that can harm plants.)
Step-by-Step Guide to rooting cuttings in water
Step 1: Preparation
Gather all necessary tools and materials. Prepare the containers and fill them with water. Remove any excess foliage from the cuttings - I usually leave only 1 or 2 leaves. Any more will zap the energy from the cutting and slow down root growth.
Step 2: Taking the Cuttings
Identify suitable stems for cuttings. I like to pick a long, healthy branch, preferably with recent new growth. This is a great time to prune back any leggy stems.
Make a clean, angled cut just below a node. The node is a bump on the stem where leaves and roots grow out of.
Remove lower leaves, leaving only a few at the top. You don't want any leaves to fall under the water line, or they are likely to rot and muck up the water.
Step 3: Placing Cuttings in Water
Place the cuttings in the containers of water. Ensure that at least one or two nodes are submerged in water.
Check the water every 2-3 days. Top it off to keep a consistent water level, and dump and replace the water once a week.
Step 4: Optimal Conditions for Rooting
Find a warm and bright location for the cuttings.Avoid direct sunlight to prevent excessive heat and evaporation.
Maintain a stable temperature and humidity. If your space is dry, consider covering loosely with a clear plastic bag to create a greenhouse effect.
Step 5: Care and Monitoring
Change the water every few days to prevent stagnation. Monitor the water level to keep the nodes submerged.
Observe the development of roots over time. Once the roots are 2-3 inches long, the cutting is ready to be moved to soil.
How to make cuttings root faster in water
The following steps can help your cutting to root faster in water:
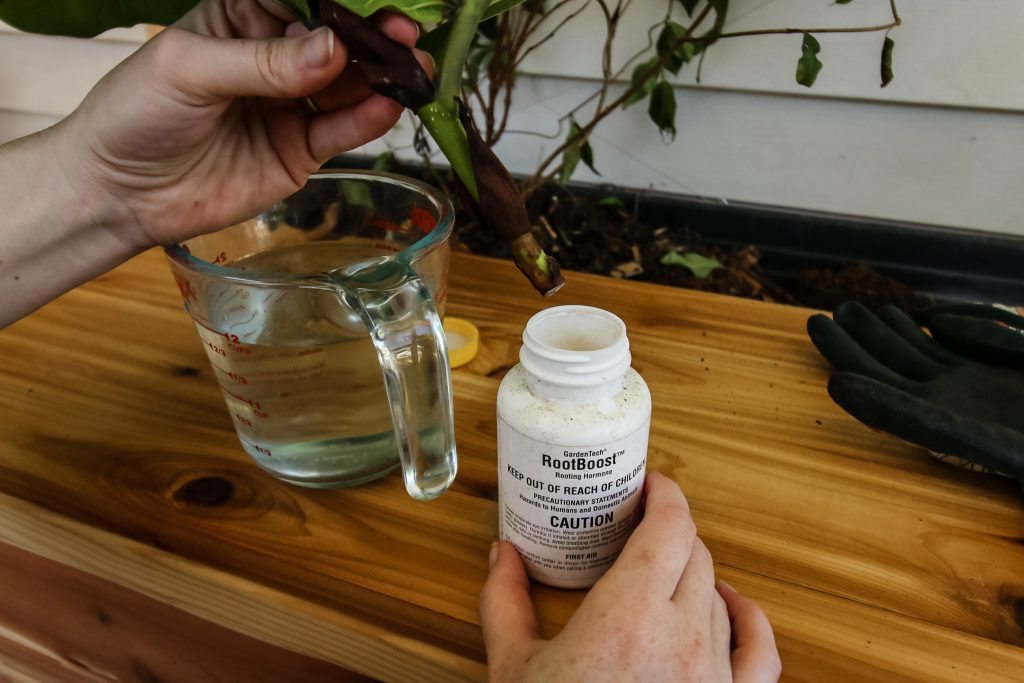
- Add a rooting hormone to the cut end of the cutting
- Add a pothos cutting to your cutting jar (said to secrete something that speeds up root growth in nearby plants)
- Place in bright, indirect light
- Change the water any time it looks foggy. Use rain water if possible.
- Make sure that your cutting has a root node or it may never root
- Leave only 1 leaf on the end of the cutting so energy can be focused on root growth.
- Make sure your water is room temperature and not hot or cold.
- Discard any rotten or mushy cuttings immediately
Troubleshooting Common Issues with water propagation
Here are some common issues with cuttings and how to fix them.
Yellowing or wilting leaves
Yellowing or wilting leaves during water propagation can be caused by various factors, including improper environmental conditions or inadequate care. Here are some troubleshooting steps to address this issue:
- Check the water level: Ensure that the nodes of the cutting are submerged in water while avoiding submerging the leaves. Adjust the water level as needed to maintain proper contact between the nodes and water.
- Evaluate lighting conditions: Provide adequate but indirect light to the cuttings. Too much direct sunlight can cause leaf burn, while insufficient light can lead to yellowing or wilting. Place the cuttings in a well-lit area, such as near a bright window or under grow lights.
- Monitor temperature and humidity: Extreme temperatures or low humidity can stress the cuttings, resulting in leaf discoloration. Maintain a consistent temperature range of 65-75°F (18-24°C) and provide sufficient humidity by misting the surrounding air or using a humidity tray.
- Review watering frequency: While the cuttings need to be in water, make sure you're changing the water every few days to prevent stagnation and the accumulation of harmful bacteria. Stagnant water can lead to oxygen deprivation and nutrient deficiencies, causing leaf problems.
Mold or fungal growth in the water
The presence of mold or fungal growth in the water can be unsightly and potentially harmful to the cuttings. Here's how to address this issue:
- Improve air circulation: Mold and fungi thrive in stagnant environments. Increase air circulation around the cuttings by placing them in a well-ventilated area. Avoid overcrowding the cuttings, as this can limit air movement.
- Use clean containers: Ensure that the containers used for water propagation are clean and free from any residue or contaminants. Thoroughly wash the containers with mild soap and water, and rinse them well before using them for cuttings.
- Avoid overwatering: Excessive moisture in the containers can promote the growth of mold and fungi. Make sure the water level is appropriate, covering the nodes without submerging the leaves. Change the water regularly to maintain freshness.
- Add a fungicide or antibacterial agent: If mold or fungal growth persists, consider adding a mild fungicide or antibacterial agent to the water. Follow the product instructions carefully and use appropriate concentrations to prevent any harm to the cuttings.
Lack of root growth
When cuttings fail to develop roots in water, it can be frustrating. Here are some troubleshooting steps to encourage root growth:
- Check the quality of the cuttings: Ensure that you're using healthy cuttings with nodes intact. Avoid using cuttings with diseases or pests, as they may struggle to root.
- Patience: Different plant species have varying rooting times. Some may take weeks to root, while others may take months. Be patient and give the cuttings sufficient time to develop roots.
- Use rooting hormones: Consider using a rooting hormone, available in powder or liquid form, to stimulate root growth. Dip the cut ends of the stem in the rooting hormone before placing them in water.
- Optimal environmental conditions: Ensure that the cuttings are placed in a warm and bright location without direct sunlight. Maintain a stable temperature between 65-75°F (18-24°C) and provide adequate humidity to promote root development.
- Change the water regularly: Stagnant water can hinder root growth. Change the water every few days to provide fresh oxygen and nutrients to the cuttings. This helps prevent rot and encourages root development.
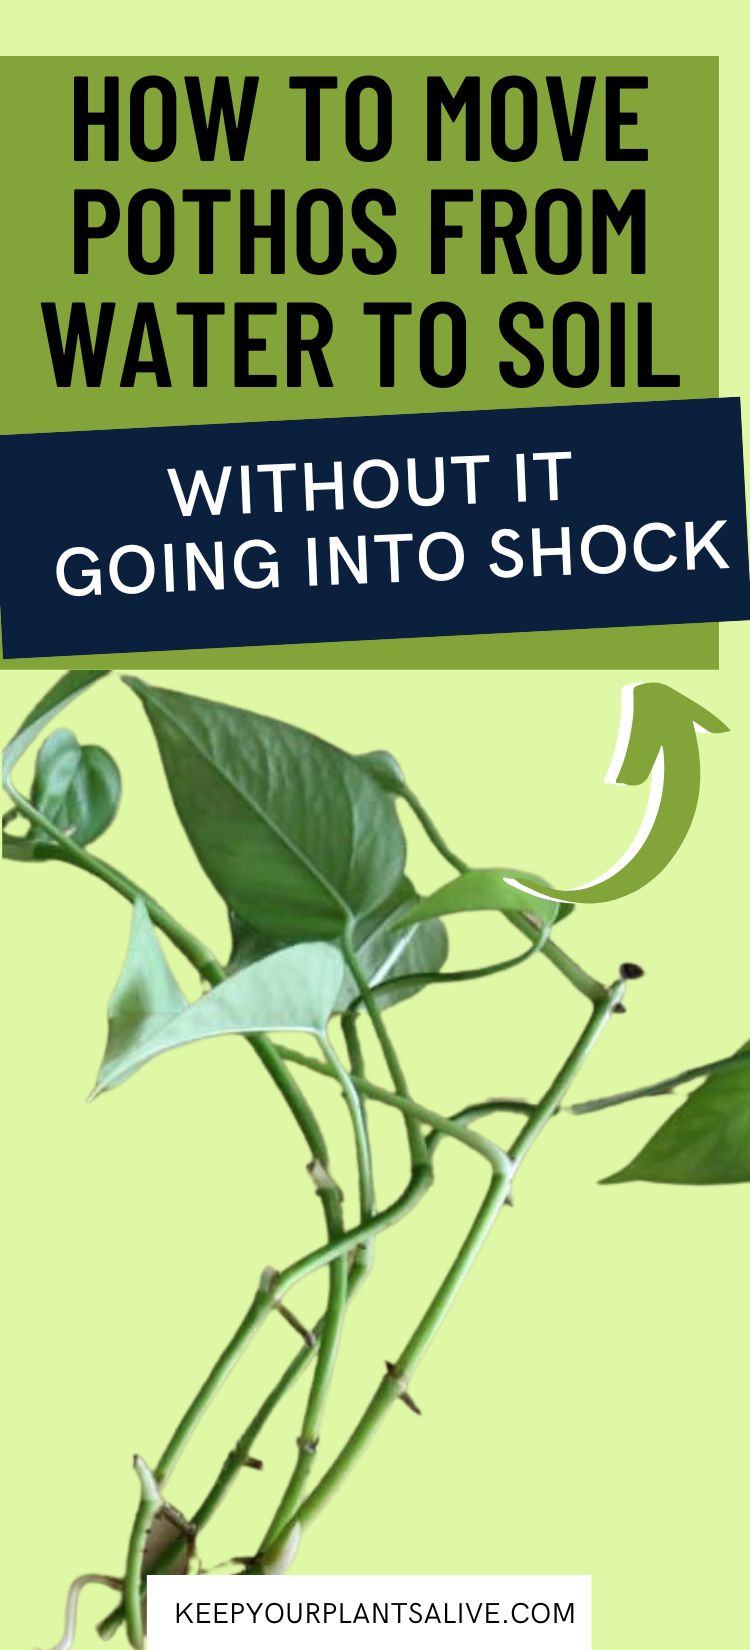
Transferring Cuttings to Soil
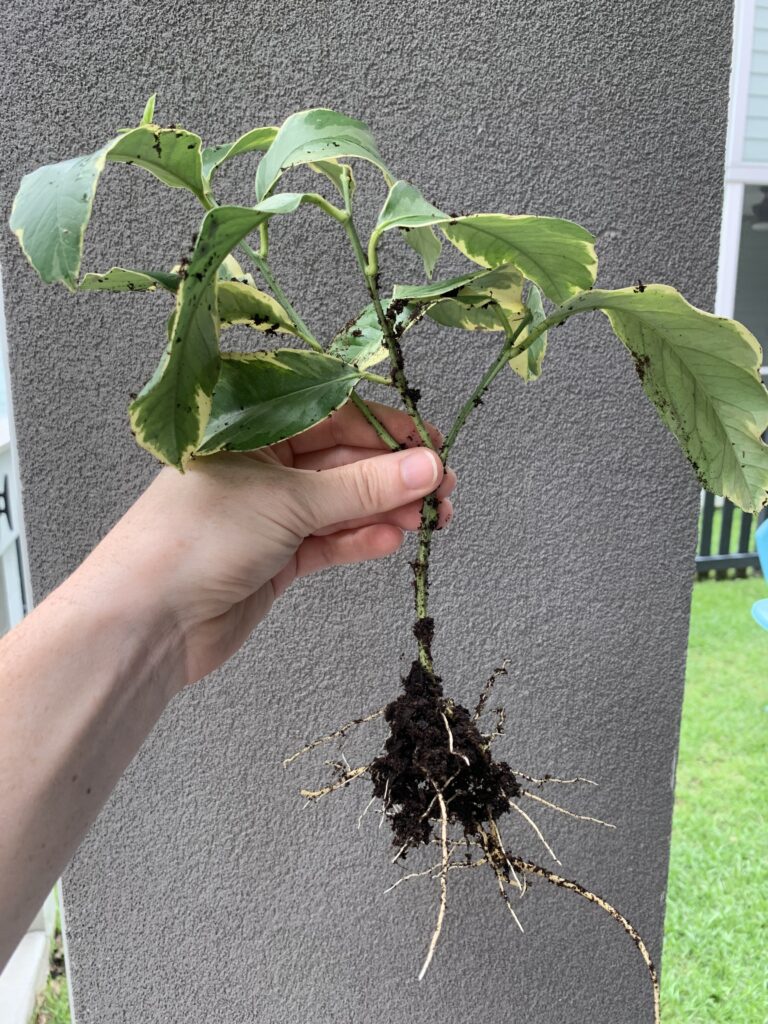
Transfer cuttings to soil when the roots are 2-3 inches long. You can also look for multiple root growth points on the stem or forking roots to see that they are well established.
Opt for a well-draining potting mix suitable for the specific plant species you are propagating. Before transplanting the cuttings, lightly moisten the soil mixture. It should be damp but not overly saturated. This ensures that the soil is ready to provide moisture to the roots without drowning them.
After planting, water the cutting thoroughly, allowing the excess water to drain through the drainage holes. Ensure the soil is evenly moist but not overly saturated.
You can cover the plant loosely with a plastic bag once planted in soil to help keep the humidity up for a few weeks and help to encourage the roots to take.
Click here for my complete guide to transferring cuttings from water to soil.
By following this beginner's guide, you now have the knowledge and confidence to successfully propagate plants through water. Experiment with various plant species, keep learning, and watch your indoor garden flourish.
Remember, patience is key, as rooting cuttings may vary in duration depending on the plant species. Stay dedicated, enjoy the process, and create a thriving collection of beautiful plants in your home.
Happy propagating!
Thanks for reading!


Hey there, I'm Morgan, a houseplant enthusiast from sunny Charleston, South Carolina. Growing up surrounded by my mom's lush orchids and African violets, I discovered the magic of bringing nature indoors. Thanks to the pandemic, I delved deeper into houseplants, discovering their power to uplift moods and transform spaces. I'm here to spill all my secrets, helping you pick the perfect houseplant - and make it happy. Let's keep your plants alive, together! 😊