Discover how to dig up and store bulbs for winter to protect your garden plants. Learn the steps to store bulbs properly and enjoy a vibrant garden next spring.
Almost everybody seems to have a sweet spot for summer – from the sunny days to the endless summer nights, there is a special kind of beauty everywhere you turn.
But, as soon as the heat starts dying down, there are visible signs of it – and they start right there in your garden!
Picture this – during the warm months, you have created a tropical dream in your backyard, and now it seems like it is slowly withering away with every passing moment. The temperatures seem to drop, and with it – your garden.
The cold months may be fast approaching, but that doesn’t mean you should give up on your tropical dream, as there is a way for you to save your plants over winter.
Keep reading to learn all about storing bulbs over winter.
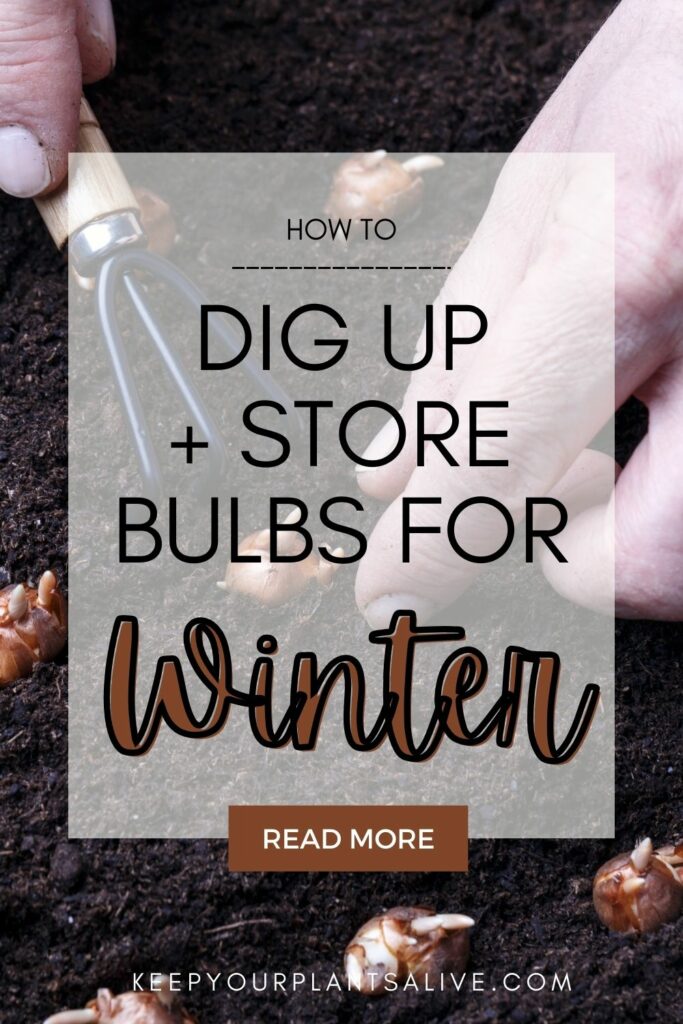
How to dig and store bulbs for winter
The growing season may be winding down, but that doesn’t mean that there is no work to be done. Now is the perfect time for you to start working on your care and maintenance routine and preparing your plants for wintertime.
What are plant bulbs?
Now, the first thing you need to learn about what bulbs are. Plant bulbs are underground storage structures that contain all the necessary nutrients and genetic material for a new plant to grow.
These specialized structures are found in various types of plants, including flowering bulbs, corms, tubers, and rhizomes.
Bulbs serve as a means of storing energy and nutrients during unfavorable conditions, such as winter or drought, and then use those stored resources to produce new growth when conditions become more favorable.
Common examples of plants that grow from bulbs include tulips, daffodils, lilies, and garlic.
When the right conditions of temperature, moisture, and light are met, the bulb will sprout and produce leaves, stems, and flowers, eventually completing its life cycle.
Can you leave bulbs in the ground during winter?
If you are looking for what to do with your bulbs as the winter is fast approaching, you need to distinguish between which ones are more delicate and which ones are a little sturdier.
Spring bulbs are the ones that can stay in the ground – they rely on the cold so they can be in full bloom once spring comes. In other words, you don’t need to worry about storing bulbs over winter for these plants!
On the other hand, summer flowering bulbs may need to be dug up. If you leave them in the soil, they will probably rot.
Now, all of this depends on where you live, as some summer-flowering bulbs are okay to stay in the ground. In addition, see the most popular flowers and their hardy zones.
| Bulb Type | USDA Hardiness Zone |
|---|---|
| Dahlia | USDA zones 8-11 |
| Calla lily | USDA zones 8-11 |
| Ranunculus | USDA zones 8-10 |
| Gladiolus | USDA zones 8-11 |
| Canna lily | USDA zones 7-11 |
| Tuberous | USDA zones 9-10 |
| Crocosmia | USDA zones 6-9 |
| Freesia | USDA zones 9-10 |
| Liatris | USDA zones 3-8 |
| Anemone | USDA zones 4-8 |
If these bulbs are hardy in your zone, then you can leave them once the temperatures drop. Otherwise, you should prepare bulbs for winter.
If your bulb is OK to leave in the ground, simply wait until the foliage has completely died down, then trim it down to 2-3 inches. Add a mulch layer on top to help them keep warm during the winter, and you’re all set!
How to store bulbs over winter
For the tenderest of perennials, you will most likely need to partake in digging bulbs and storing them during the winter if you still want to enjoy them next year.
Thankfully, there is a perfectly safe and easy way for you to do that.
Here is a step-by-step guide on how to store bulbs over winter.
STEP 1: Dig up the bulbs
The first step is taking the bulbs out of the ground. Harvest them once all the foliage is dead (so they are easy to pull away when you tug on them).
Remember – you should do this before the first frost, or it will be too late.
If you need some help, use a garden fork to gently assist you. Brush the excess dirt from the bulbs and trim the foliage down to 2-3 inches. Cut any long and dangling roots.
STEP 2: Dry them out
Before storing bulbs over winter, you should dry them out. Once you take them out of the ground, they will be filled with moisture.
Put them in a warm and dry room on paper towels or newspapers. Lay them out and leave them like that for a few weeks. Before storing them, they need to be completely dried out.
STEP 3: Store your bulbs
Once the bulbs are dry, wrap them in a paper bag, a newspaper, or a mesh bag. Add a growing medium such as sawdust, coconut coir, or vermiculite, just enough that the bulbs are an inch deep in it.
You can place them in a cardboard box as long as they are getting enough circulation.
STEP 4: Check for rot
The storing bulbs over the winter process doesn’t end here! Every once in a while, check them for signs of rot.
If you notice this happening to some bulbs, dispose of them immediately. Leave the bulbs like that for a few months during the winter before planting them again.
STEP 5: Plant them again!
It is springtime once again, and it is time for you to start returning your garden to its full glory. The planting time varies from one plant to the next, but the typical planting time is after the last frost.
When you remove the bulbs from storage, all healthy ones should look large and firm. All the other ones should be discarded.
That covers all you need to know about storing your bulbs over winter! Now you know how to dig them up properly, store them carefully, and prepare them for the next planting season!
Thanks for reading!


Hey there, I'm Morgan, a houseplant enthusiast from sunny Charleston, South Carolina. Growing up surrounded by my mom's lush orchids and African violets, I discovered the magic of bringing nature indoors. Thanks to the pandemic, I delved deeper into houseplants, discovering their power to uplift moods and transform spaces. I'm here to spill all my secrets, helping you pick the perfect houseplant - and make it happy. Let's keep your plants alive, together! 😊